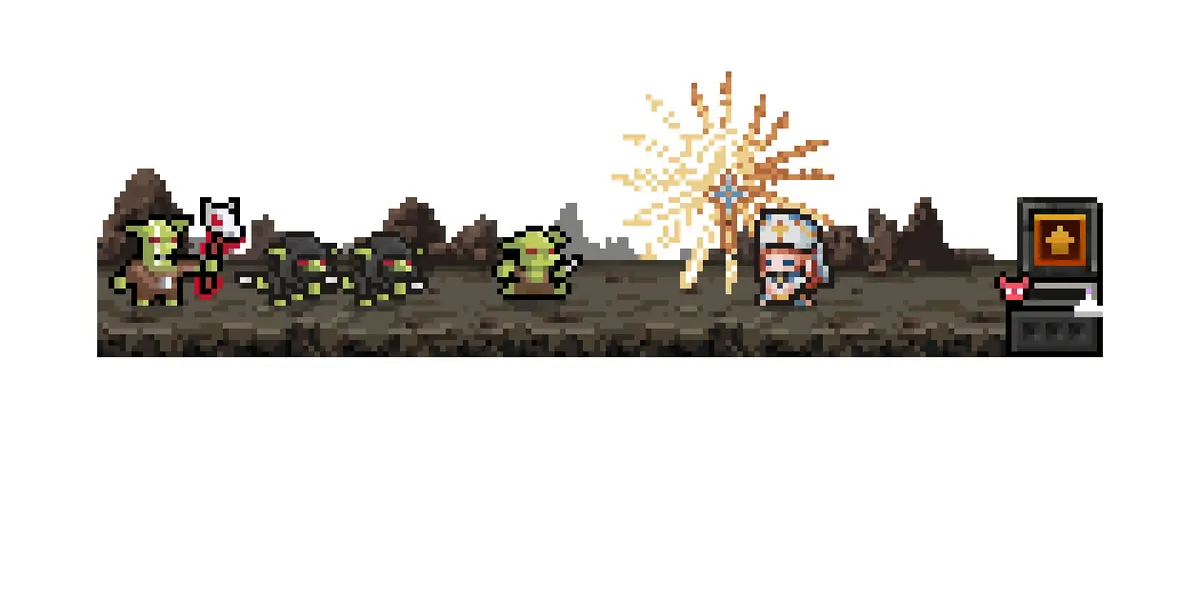
Best Taskbar Hero Priest build at a glance
Start with a stable hybrid rather than forcing pure healing or pure damage. Community guides currently converge on two practical routes. Holy Hammer plus God's Wrath favors repeated wave pressure and scales well when critical and skill-damage stats are available. Sacred Smash plus Mystic Barrier favors direct damage with a defensive layer. In both routes, Faith remains important because several Priest effects scale from it, but the best allocation depends on whether your run fails from deaths, slow kills, or weak farming returns.
- Wave route: prioritize Holy Hammer, God's Wrath, critical rate, critical damage, Faith, and skill damage.
- Hybrid route: prioritize Sacred Smash, Mystic Barrier, Faith, attack or skill damage, then enough defensive value to keep casts active.
- Use Resurrection as recovery, not as permission to run a formation that dies constantly.
- Test one variable at a time for at least several repeat clears before spending rare runes, cubes, or high-value gear.
How to unlock Priest and what the class is for
Priest is distributed as a separate class DLC on Steam, and the official store page lists that DLC as free. Add the Priest class from its official Steam page, confirm that the DLC is enabled for TBH: Task Bar Hero, then reopen the game if the class does not appear immediately. Avoid third-party downloads because the class is delivered through Steam rather than as a separate installer.
The class is not limited to passive healing. Current community builds use Priest as a support-damage hybrid: Faith powers key class interactions, defensive skills improve formation uptime, and active attacks can contribute meaningful wave clear. This makes Priest especially useful when a glass-cannon lineup clears quickly but fails too often during unattended farming.

Choose Priest when survival is inconsistent
A support slot is valuable when the party loses clears to sudden deaths, interrupted damage cycles, or unstable long idle sessions.
Keep a damage job for the slot
Priest should still improve clear speed through Holy Hammer, Sacred Smash, or other offensive investment instead of becoming a slot that only reacts after failure.
Treat DLC status separately from build strength
The official page confirms availability, but balance strength comes from current skills, gear, formation, and patch behavior rather than from the DLC label itself.
Two Priest skill paths worth testing
No single point order remains correct for every account because skill levels, unlocked rows, gear rolls, party roles, and patch changes differ. A better approach is to choose one primary damage engine, one stability tool, and supporting passives that reinforce the same job. The two routes below reflect the strongest overlap among current community guides without pretending that one screenshot is a universal best-in-slot solution.
Holy Hammer and Sacred Smash should not both consume your best resources automatically. Build around the skill that solves the current bottleneck, then compare clear time, deaths, and useful drops before committing further.
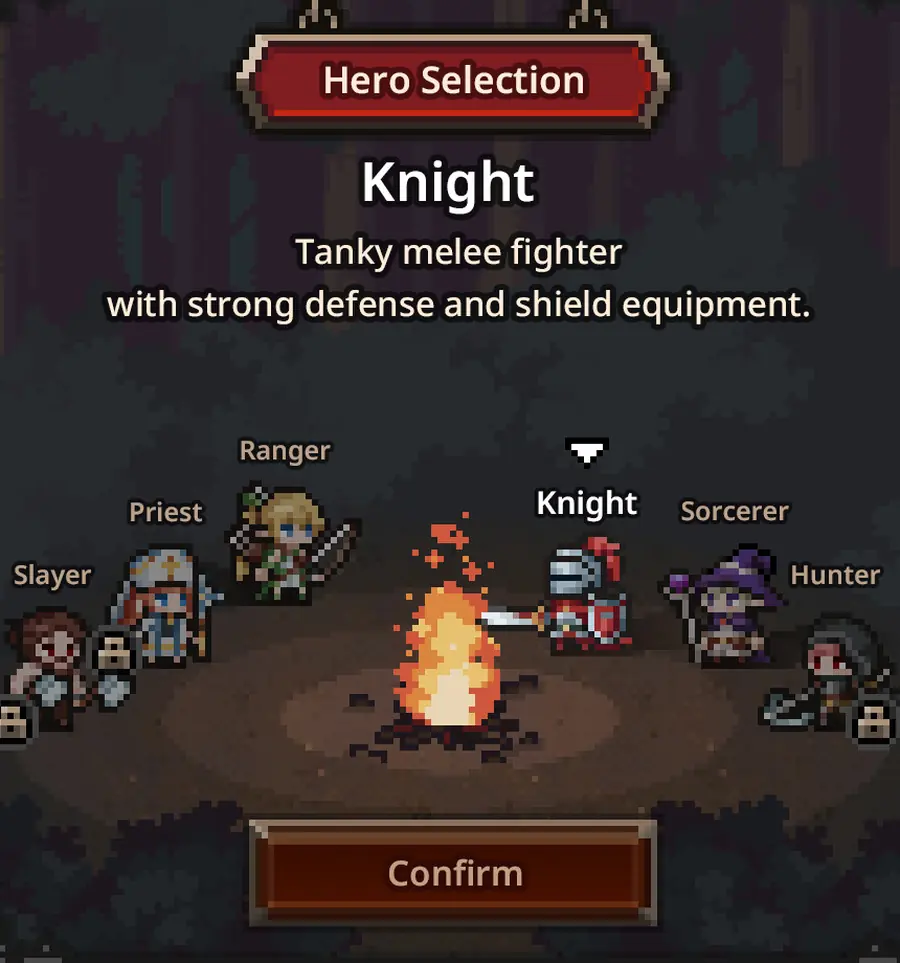
Holy Hammer wave build
Use Holy Hammer as the main repeatable damage skill and support it with God's Wrath, critical rate, critical damage, Faith, and skill damage. This path fits accounts that can already survive and need faster multi-target clearing.
Sacred Smash hybrid build
Use Sacred Smash as the direct attack core, Mystic Barrier for stability, and Faith Infusion or other Faith-supporting choices when available. This path is easier to justify when the formation needs both damage and a safer idle loop.
Recovery and passive layer
Resurrection, Guardian Angel, Divine Plan, Rampage, Beat the Devil, and similar passives should be judged by the failure they prevent. Do not max every utility skill before the main damage plan works.
Priest stat and gear priorities
Faith is the Priest-specific anchor, but blindly stacking one stat can leave the build slow or fragile. For a Holy Hammer route, critical rate and critical damage can become high-value multipliers once the skill is reliably active, while skill damage improves the offensive package more directly than generic defensive rolls. For a Sacred Smash route, compare attack-related rolls with Faith and skill damage instead of assuming the largest tooltip number produces the fastest clear.
Gear should be evaluated as a complete loadout. A community guide may show a Divine Book, a critical-focused weapon, or a particular rarity, but your best item is the one that improves the measured run without breaking another role. Keep one control loadout, swap one piece, and record the result. High rarity alone does not prove that a piece is better for Priest.
Offense priority
Main skill uptime, skill damage, critical rate, critical damage, and the attack stat used by your chosen route. Stop adding damage if deaths erase the time saved.
Support priority
Faith, barrier or recovery consistency, and enough durability to keep the Priest acting. Support value matters only when it changes successful clears or idle uptime.
Rune and cube spending
Patch the measured weakness first. Use damage effects for slow kills, survival effects for failed runs, and farming effects only after the stage is already stable.
Formation, stage choice, and farming use
Priest is most useful when another hero can exploit the extra uptime. Place the durable role where it can absorb pressure, preserve a dedicated main damage slot, and let Priest support the loop without replacing every source of damage. If adding Priest makes the party safer but doubles clear time, move down one stage or rebalance the damage slot rather than assuming the support build is finished.
For unattended farming, compare successful clears per hour rather than the highest stage reached once. A slightly lower stage with no deaths, steady item drops, and consistent return timing can outperform a risky stage where Resurrection repeatedly repairs a broken formation. Use the site's farming calculator when you have measured clear time, downtime, success rate, and useful drop value.
Progress push
Use the offensive Priest route when survival is already sufficient and the formation needs help crossing a damage check.
Long idle session
Use Mystic Barrier, recovery, and Faith support when deaths or interruptions reduce total successful clears.
Boss attempt
Shorten the test window and compare boss completion, not only wave speed. A skill that dominates normal packs may not be the best boss investment.
How to keep the build useful after patches
Priest has already received balance changes, and the official update feed confirms that version 1.01.01 fixed a problem where Resurrection did not trigger in some cases. That history is a warning against treating a fixed point order as permanent. Check official patch notes after updates, especially when a skill changes cooldown, scaling, targeting, or trigger conditions.
Run a controlled A/B test before and after each meaningful change. Keep the stage, formation, session length, and other gear constant. Record clear time, failure count, boss completion, and useful drops. If the new setup wins only one unusually lucky run, collect more samples before consuming scarce upgrade materials.
Baseline
Save the current skill and gear setup, then measure at least several clears on a stage you can repeat consistently.
Single change
Change one skill investment, item, rune, cube effect, or formation position so the result remains explainable.
Decision
Keep the change only when it improves the metric tied to your goal: progression, stable farming, boss completion, or material efficiency.
Priest build adjustment table
Use the symptom you can observe instead of copying another player's final screen without context.
| Observed problem | First adjustment | What to test |
|---|---|---|
| Normal waves take too long | Invest in Holy Hammer or Sacred Smash and offensive stats | Average clear time across repeated runs |
| Party dies during idle farming | Add Mystic Barrier, Faith support, or durability | Successful clears and deaths per hour |
| Boss survives but waves are easy | Shift from broad wave value toward direct damage | Boss completion time and timeout rate |
| Resurrection triggers constantly | Fix the formation instead of adding more recovery | Whether deaths disappear before the revive is needed |
| High-rarity gear feels worse | Compare relevant rolls, not rarity alone | Same-stage results with one item swapped |
Common Priest build mistakes
Copying a level-70 build too early
A complete late-game skill tree assumes points, passives, and gear you may not have. Build the damage engine first, then add the later layers as they unlock.
Using Resurrection to hide bad formation
Frequent revives are evidence that the party is unstable. Improve positioning, durability, or stage choice before spending more around recovery.
Mixing both damage routes without a test
Splitting scarce points between Holy Hammer and Sacred Smash can delay the first working build. Choose one main route and compare it against a saved baseline.
Ignoring patch dates
Community screenshots can remain useful, but skill values and bugs change. Check the date and official update feed before treating a guide as current.
Sources and verification notes
Official Steam pages verify class availability, media, and update notes. Community guides are used as build-testing evidence, not as official balance documentation.
Taskbar Hero Priest build FAQ
What is the best Priest build in Taskbar Hero?
For most accounts, begin with a hybrid support-damage build. Choose Holy Hammer plus God's Wrath for repeated wave damage, or Sacred Smash plus Mystic Barrier when you need direct damage and more stability. Test the route against your current stage and gear.
Which stats are best for Priest?
Faith is the class anchor, while skill damage, critical rate, critical damage, and route-specific attack stats improve offense. Add durability only until the Priest and formation remain active consistently.
Is the Priest class free?
The official Steam store currently lists the Priest Class DLC as completely free. Availability can change, so use the official Steam page rather than a third-party download.
Should I max Holy Hammer or Sacred Smash first?
Do not max both automatically. Holy Hammer suits wave-focused critical and skill-damage setups; Sacred Smash suits a direct hybrid route. Invest first in the skill that solves the measured bottleneck.
Is Resurrection mandatory?
It is useful recovery, but it should not compensate for constant deaths. Official notes confirm a past Resurrection bug fix, so check current patch behavior and stabilize the formation first.
Can I use this build after a balance patch?
Use the route logic, not fixed numbers. Recheck official patch notes and repeat a controlled test whenever Priest skills, cooldowns, scaling, or trigger conditions change.